Serverless has become a new way to run software and applications over the cloud.
Let's suppose you have a python single file application and you want to make it available to your users.
The days of Provisioning a Virtual machine installing necessary packages and managing the versions are all over.
Serverless enables you to run your code on the cloud with not much effort needed from your end on the Infrastructure. Serverless handles it.
It is a production grade and scalable Infrastructure. Built and Managed by Serverless.
If you are new to AWS Lambda and wondering how to get started and deploy your code and make it a serverless application.
Refer to our introduction to Lambda article here
The Objective
You can think of this article as an extension of the aforementioned article. where we create and deploy aws lambda manually.
Now we are going to do all of them with Terraform with much efficiency.
As part of this article, this is what we are going to do
- Creating AWS Access Key and Secret
- Installing AWS CLI
- Configuring AWS CLI
- Creating Terraform Manifest/files necessary to create our resources
- Executing the Terraform Manifest and Create resourcs
- Final Validation
Create AWS Access Key and Secret
If you would like to create a new user in IAM along with the Access Key follow these steps.
-
Login to AWS Console
-
In the services go to IAM
-
Create a User and Click on the map of existing Policies
-
Choose UserName and Select the Policy (Administrator Access Policy)
-
Create user
-
The final Stage would present the AccessKEY and Secret Access like given below.
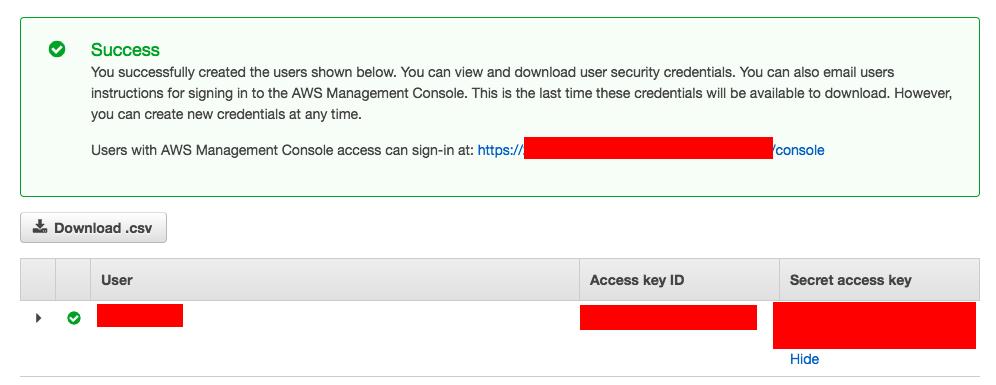
If you would like to Choose the existing user and create an Access Key follow this
- Sign in to the AWS Management Console and open the IAM console at https://console.aws.amazon.com/iam/.
- In the navigation pane, choose Users.
- Choose the name of the user whose access keys you want to create, and then choose the Security credentials tab.
- In the Access keys section, choose to Create an access key.
- To view the new access key pair, choose Show. You will not have access to the secret access key again after this dialog box closes. ( Refer the image given above)
Install AWS CLI
Based on your base machine the AWS CLI installation and command might vary.
Amazon has given clear instructions on how to install AWS CLI on each platform. Choose any of the following links and get your AWS CLI installed and ready
- Installing AWS CLI version 2 on Linux or Unix
- Installing AWS CLI version 2 on macOS
- Installing AWS CLI version 2 on Windows
Configure AWS CLI
I presume that you have installed the AWS CLI package and if everything went well.
You should be able to see the version of the AWS CLI installed when entering the following command in your terminal or command prompt
aws – version
I am using the AWS CLI Version1 as CLI Version 2 is still on Beta.
Now it is time to configure the AWS CLI, Just enter the following command and you would be prompted with a few questions about the Access Key and Passwords.
aws configure
it would look like this as you are setting it up.
You enter your own AWS Access Key ID and Secret Access Key and the one is given below is not correct. Just a made up.
➜ ~ aws configure
AWS Access Key ID [None]: AKIAS790KQGK63WUK6T5
AWS Secret Access Key [None]: kkQEiBjJSKrDkWBLO9G/JJKQWIOKL/CpHjMGyoiJWW
Default region name [None]: us-east-1
Default output format [None]:
Well done. You are ready with AWS CLI
New to Terraform - A Refresher
Before we begin we presume that you have completed the AWS CLI integration and configuration necessary for your Terraform to reach AWS
We also presume that you have installed Terraform CLI in your local
If you are new to Terraform. we would recommend you to read a Terraform AWS Beginner article here and come back to continue.
We hope you are now ready with everything needed to continue with our Terraform lambda creation requirement.
Terraform script to create AWS Lambda function
Terraform codes are written as configuration blocks and with an extension of *.tf
Now we are going to create a few files in our workspace, all of them have their distinguished purpose to serve.
Create a file named variables.tf to pass the required variables to the Terraform
variable "aws_region" {
  default     = "us-east-1"
}
Next, create another file named output.tf file to store the output of our Terraform execution
output "lambda" {
  value = aws_lambda_function.lambda.qualified_arn
}
Now we are going to create the mighty main.tf file
This file is our primary file where we define our requirements and what we are going to do with Terraform.
Now create a new file named main.tf and copy the following code to it
We will decode this file in detail shortly.
provider "aws" {
  region =var.aws_region
}
provider "archive" {}
data "archive_file" "zip" {
  type        = "zip"
  source_file = "welcome.py"
  output_path = "welcome.zip"
}

data "aws_iam_policy_document" "policy" {
  statement {
    sid    = ""
    effect = "Allow"
    principals {
      identifiers = ["lambda.amazonaws.com"]
      type        = "Service"
    }
    actions = ["sts:AssumeRole"]
  }
}

resource "aws_iam_role" "iam_for_lambda" {
  name               = "iam_for_lambda"
  assume_role_policy = data.aws_iam_policy_document.policy.json
}

resource "aws_lambda_function" "lambda" {
  function_name = "welcome"
  filename         = data.archive_file.zip.output_path
  source_code_hash = data.archive_file.zip.output_base64sha256
  role    = aws_iam_role.iam_for_lambda.arn
  handler = "welcome.lambda_handler"
  runtime = "python3.6"
}
Let us see what each block in our main.tf file does
Provider block
With this block, we are instructing terraform to use AWS as a provider
provider "aws" {
  region = var.aws_region
}
Archive block
This block is to create a zip file of our source code (python) to deploy it into lambda.
we can compress a list of files or a single file using archive_file directive
provider "archive" {}
data "archive_file" "zip" {
  type        = "zip"
  source_file = "welcome.py"
  output_path = "welcome.zip"
}
Creating iam_policy_document JSON
With this block, we are creating an IAM Policy document as a JSON which would be later used to create an IAM Policy
data "aws_iam_policy_document" "policy" {
  statement {
    sid    = ""
    effect = "Allow"
    principals {
      identifiers = ["lambda.amazonaws.com"]
      type        = "Service"
    }
    actions = ["sts:AssumeRole"]
  }
}
Creating IAM Policy using the JSON
We are going to use the JSON output of the preceding data block aws_iam_policy_document.
With in the aws_iam_role block we are referring to the output of the preceding block using the variable data.aws_iam_policy_document.policy.json
resource "aws_iam_role" "iam_for_lambda" {
  name               = "iam_for_lambda"
  assume_role_policy = data.aws_iam_policy_document.policy.json
}
aws_lambda_function block
As we have created all the necessary resources with different blocks. Now we can use them in our core aws_lambda_function creation block.
we are going to create a lambda function named welcome using the zip file we have created earlier with archive_file block
Also, we are using the role we have created with aws_iam_role and define our runtime which is needed for our python sourcecode to run properly.
resource "aws_lambda_function" "lambda" {
  function_name = "welcome"
  filename         = data.archive_file.zip.output_path
  source_code_hash = data.archive_file.zip.output_base64sha256
  role    = aws_iam_role.iam_for_lambda.arn
  handler = "welcome.lambda_handler"
  runtime = "python3.6"
}
Python - Lambda Function Sourcecode
As we have created the Terraform code necessary to create the AWS Lambda function.
Now we are going to create the python source code file named welcome.py which we have referred to on our terraform manifest earlier
This python file has to be kept in the same directory (workspace) where your tf files are kept
Create a file named welcome.py and copy the following source code
import json
import random
import string
import random
import string
import re

def lambda_handler(event, context):

    max=8
    password=''.join(random.choices(string.ascii_lowercase+string.ascii_uppercase, k=max))
    mandatory=''.join(''.join(random.choices(choice)) for choice in [string.ascii_lowercase, string.ascii_uppercase, "_@", string.digits])
    passwordlist=list(password+mandatory)
    random.shuffle(passwordlist)
    while re.match("^[0-9]|@|_",''.join(list(passwordlist))) != None:
        random.shuffle(passwordlist)
        passwordlist=list(password+mandatory)

    return {
        'statusCode': 200,
        'body': json.dumps(''.join(list(passwordlist)))
    }
Create Lambda Function with Terraform
Now it is time to put our terraform script to use and create an aws lambda function with terraform.
Initialize the terraform script by running the following command
terraform init
then run the following terraform command to plan,
Plan is like a dry run and it shows what changes would be made upon running the terraform script/manifest
terraform plan -out tfplan.out
we are saving the plan as an output file tfplan.out this is recommended to make sure that no unintended changes are being made to the Infra.
this tfplan.out file should be used during the terraform apply so only the changes you have seen in the plan would be made LIVE
After reviewing what changes would be made to the infrastructure.
If you are happy with it. go ahead and apply the configuration and run the script with the following command
terraform apply tfplan.out
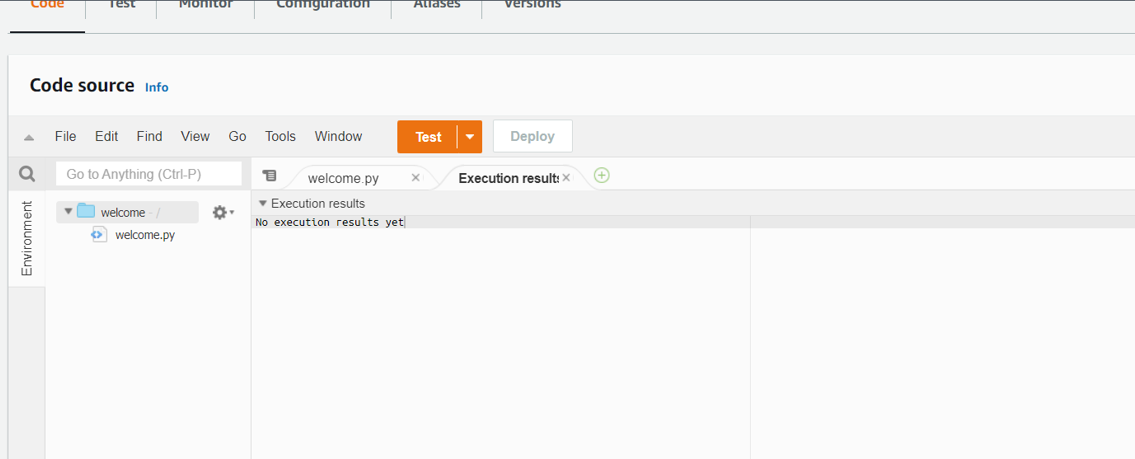
Testing the Lambda function
If all went well. you should now see your lambda function created in AWS console.
Now, let's test our lambda function to see its working:
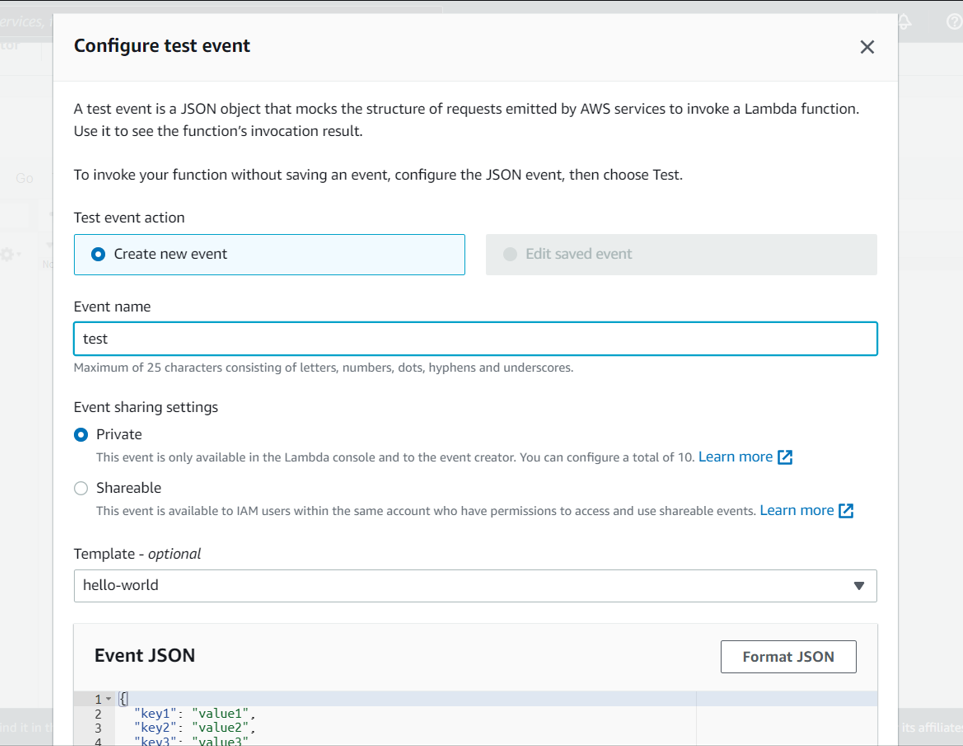
- Click on the Test option on your lambda function page to set up a test event:
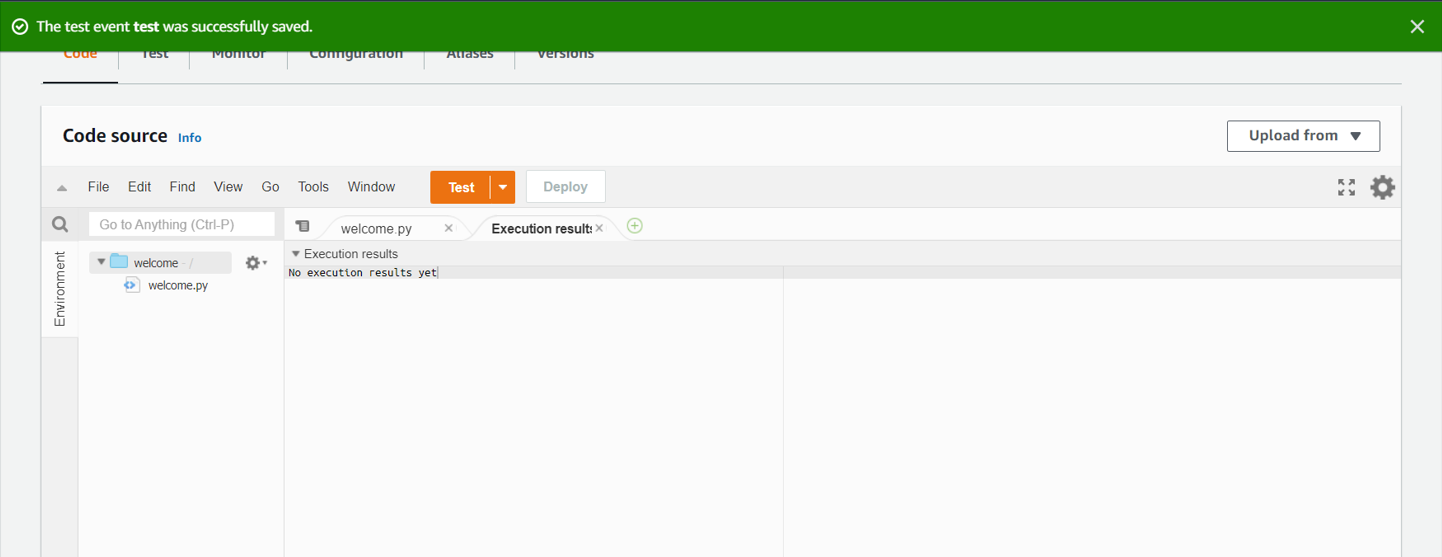
- Enter your test event name and leave all other fields to default and save the test event.
- Click on Test to execute the test event.
- You will be able to see the output of your lambda function.
Since our sourcecode is designed to return some random password. You should see an output with a password something like the preceding screenshot.
That's it.
You have successfully automated the deployment of your python code to a lambda function using Terraform and then validated using Lambda console.
If you have any product and Cloud / DevOps requirements, Please do contact us for free consulting at [email protected]
Co Authored by
Vishnu & Sarav AK

Follow me on Linkedin My Profile Follow DevopsJunction onFacebook orTwitter For more practical videos and tutorials. Subscribe to our channel
Signup for Exclusive "Subscriber-only" Content

